Monday, August 8, 2011

Joker's Custom Revolver

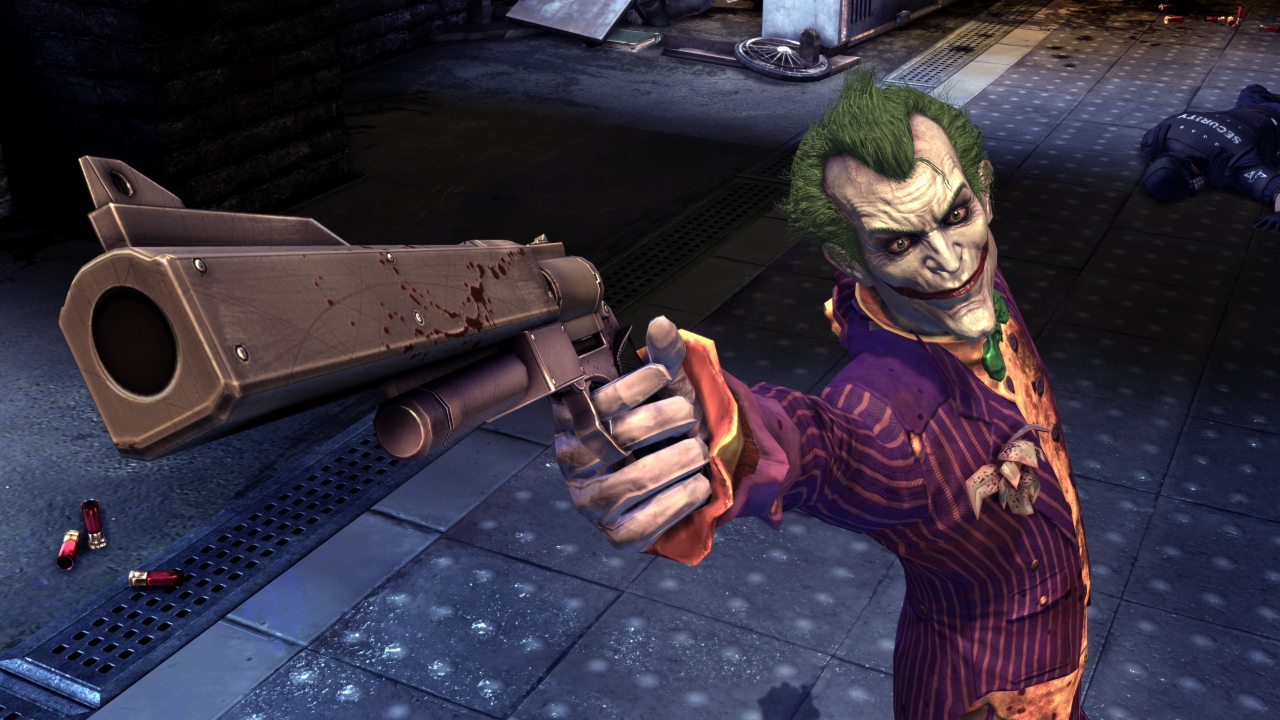
All of my previous builds thus far have had a real-world equivalent that I could get sizes and other supplemental information from.  This build, however, is for a custom revolver used by Joker in Batman: Arkham Asylum.  This was a commission for a friend of mine for his Joker costume, so there's a level of trying to impress a client enough to be paid.  Let's begin!


I went through countless Google image pages under different searches, trying to find a profile view of the gun to work from, since the above image has a fair amount of perspective to it, which tricks the eye in regard to the actual scale of the weapon.  I wanted it to be as precise as possible, which meant scouring.  Eventually I came across a Resident Evil 4 mod with a Joker's Revolver replacement for the .50 cal revolver in-game.


That would work nicely for me.  I brought it into Photoshop, and actually opened up the file from the Colt Anaconda build I did in order to match up the trigger guard and grip, allowing me to pit it against a real-world equivalent.  From here, I did the same-old method of mine of scaling it to 1:1 and zooming it in so one inch on the screen was one inch on my ruler.

Then I mapped a template onto cardboard and cut them out.  Bear in mind the…well, I want to call it the ejector rod, but that's not in the right place…  The thing underneath the barrel...  Bear in mind that it will be made of a dowel, so it's not included here:

Once more pieces are cut out, I add the sight.


Here's an view of nearly all the parts going into this build before I glue it all together.  You can see that I've cut the hole into the body for the chamber to sit.

For the chamber, I got a chunk of...honestly, for the life of me, I can't recall the diameter, but a chunk of PVC, cut it to scale, and filled it with a bunch of cardboard rings with a hole down the center for the 1/2" dowel to fit through.  I cut a groove into the body for the nub end of the dowel to rest in in order to keep it all stable.

As you can see, it fits nicely.  Also, for the hammer, I grabbed a paper clip, hot glued it into place, and bent it into the right shape.  It's a little small at this point, but I'll fix that later.

All the major pieces are assembled.  The dowel goes through the muzzle, stopping maybe an inch short, at most, so that I can build a removable orange tip for the finished piece.  The sight, as you can see, has paper clip reinforcement pieces that will help the sight retain its structural integrity when it's up top.  The dowel is in place on the bottom.

Here's the hammer, lookin' quite a bit more beefed up from layers of hot glue.  Also, the edges of the revolver frame are all filled in with glue at this point, and shaped with a bevel around the edges to keep it lookin' good.

And here she is with the completed construction.  All that's left is to prime 'er in black and paint 'er silver with the proper accents.

And voila!  All done!  I added a little red enamel paint(honestly, it was because I couldn't track down where I put my red acrylic) to keep the blood splatter a little bit moist looking.

Andrew has said he likes the way it looks.  Unfortunately, this is the only photo I could find with him and the prop.


This build only took me about two days of work, and, mind you, I was AT work while I was working on this, so there were a lot of intermittent stops to...y'know...do my actual job.  :P  Weekends are always slow at the station, though.

Friday, May 13, 2011

Ithaca M37

One of the pinnacle weapons in movies and games is the shotgun.  With so basic a design(stock, trigger, barrel, forend) and so prolific in our culture, it's a wonder it's taken me so long to build one.  Today,  I'm building an Ithaca M37, one of the shotguns used in Resident Evil 5(along with much of the rest of the series), and even more games, like Metal Gear Solid and Call of Duty: Black Ops(It's referred to as the "Stakeout").

Here's Chris Redfield in the game with the M37(sounds like I'm playing Clue):

Here's a real M37:

Pretty simple.  Cardboard grip and body, two 3/4" PVC pipes, and a chunk of larger PVC with grooves for the forend.  Let's get started.

First off, as usual, I get a profile of the shotgun into Photoshop and blow it up to 1:1 scale.  Then I trace it onto cardboard, cut out that chunk, and use it as a stencil.  I believe this thing was 1 3/4" wide.  Here, you can see the new, industrial cardboard my uncle gave me.  It's 3/4" wide, whereas normal cardboard is roughly 1/8" on average.  Saves me pleeeeenty of time.  The only problem is that I eventually need to cover all the edges with heavy paper instead of just hot glue.

 Here's a shot of the gun(see what I did there?) body from the side.

To reinforce the gun, I plan to sink the PVC as far into the body as possible.  That means having to cut in some grooves.  Each groove is 1/2" deep at its lowest point(The outside of the 3/4" PVC brings it up to 1").

Here you can see the PVC sunk into the body.

And then I glue it all together.

Looking pretty sweet.  Now I just have to run some heavy paper around the edges.

Looking at the design, I noticed that the front of the forend looks vaguely bottle-shaped, so I lopped the top off of a bottle of Propel and electrical taped it on.

It's lookin' more and more like the M37.

To add the grippy grooves(I love sayin' that) to the forend, I measured them out to about a 1/4" apart and drew those concentric circles onto the PVC.  Then I started using a Dremel to cut a channel into each of the lines.  Dremeling a straight line is a lot more difficult than you'd think.

Once it's done, I hit it with some sandpaper to take all of the rough edges off and to rough up the shiny finish of the PVC so it holds the paint better.  Speaking of paint, I hit the whole thing with some flat black.

After that, I painted the forend brown and added a bit of wood texture that I achieved by letting the paint get a little bit tacky so it'd create stronger brush strokes(similar to wood grain) when I painted on it.  I also painted in all of the little details, which there weren't too many of.

Here's Nick(the recipient) with the finished product:


And with his Chris Redfield gear:


Monday, April 25, 2011

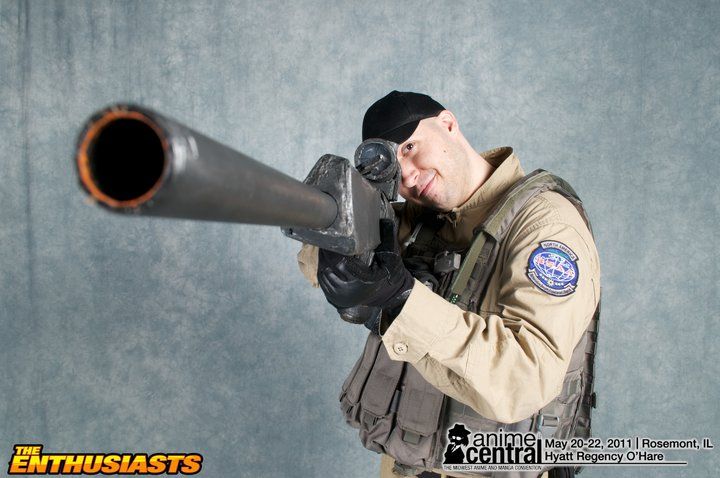
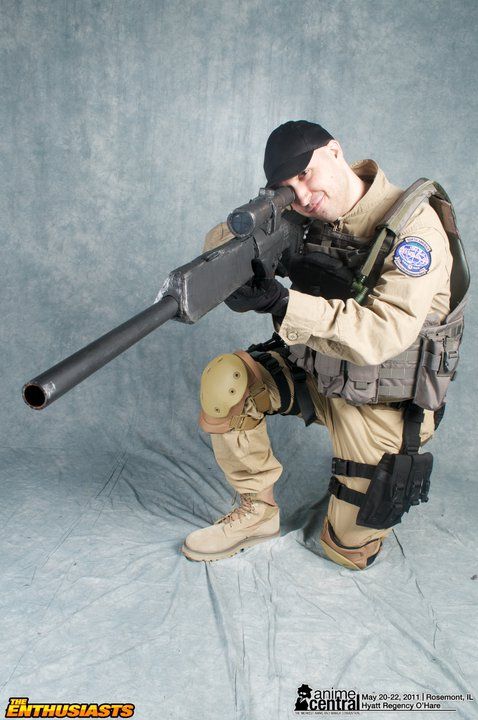
PSG-1

In my opinion, Heckler and Koch make amazing looking weapons.  The G36c is my favorite weapon(oddly, I haven't built one for myself yet), and the PSG-1 is just as classy looking, so I was really excited to build this prop weapon.  Here's a real one:


I decided to start shooting some video, since I had my Flip sitting on the side.  Woo!  You can listen to my boring droning while staring at my boring face!  OH BOY!  Just a heads-up, this is going to be a pretty video-dependent build, so I apologize if that's not your thing.  This is my first time doing that, so if it works, I may wind up doing the entire build as a video from now on.  If not, I'll go back to a blog-style explanation, so bear with me.

I start off as usual, by grabbing a high-res profile of the weapon I need to build and mapping it out in Photoshop.  Here's an explanation:

However, since this thing is such a long prop, it creates a few issues.

And the prospective solution:

Work begins!  Here's an application of the technique, which is explained(probably much longer than it needs to be):


After this, I basically repeat that process...over and over and over...and over... until I finally get all of the pieces cut out.  Two inches worth of cardboard at an average thickness of 1/8" apiece takes a long time, for the record.  Here, you can see that everything is laid out.  The PVC is sitting where I'm planning on cutting the channel into the body and stock.  The forearm is placed where it's going to overlap that offshoot of the body, and the triangular ribs will help to reinforce the forearm to avoid crumpling, bending, or wiggling.

Next up, cutting out the PVC groove and gluing the chunks together:

Once the whole body is glued together, grinding begins.


Here's the result:

The grinding and filing are all finished now.


After covering the top of the body with some heavy paper, affixing the cheek plate to the stock, carving slots in for the scope mount, and building the mounting for the scope itself(sorry, I never covered that in videos or photos.  It's pretty basic, though), and the painstaking process of coating all of the edges and gaps with hot glue, not to mention smoothing that glue out to keep the body contiguous, I dub the construction finished.  I apologize for the audio.  It was late, and I didn't want to talk too loudly, lest I wake up my parents.

Here's a photo of the finished construction:

Next up… PAINT!

*triumphant music*  Toooootally done.  It's been a trial building this beast, but it's a pretty epic looking prop.  I'm sure Chris will be pleased.

And a photo of the end result:


Here're two shots of Chris in his Dave Johnson gear:


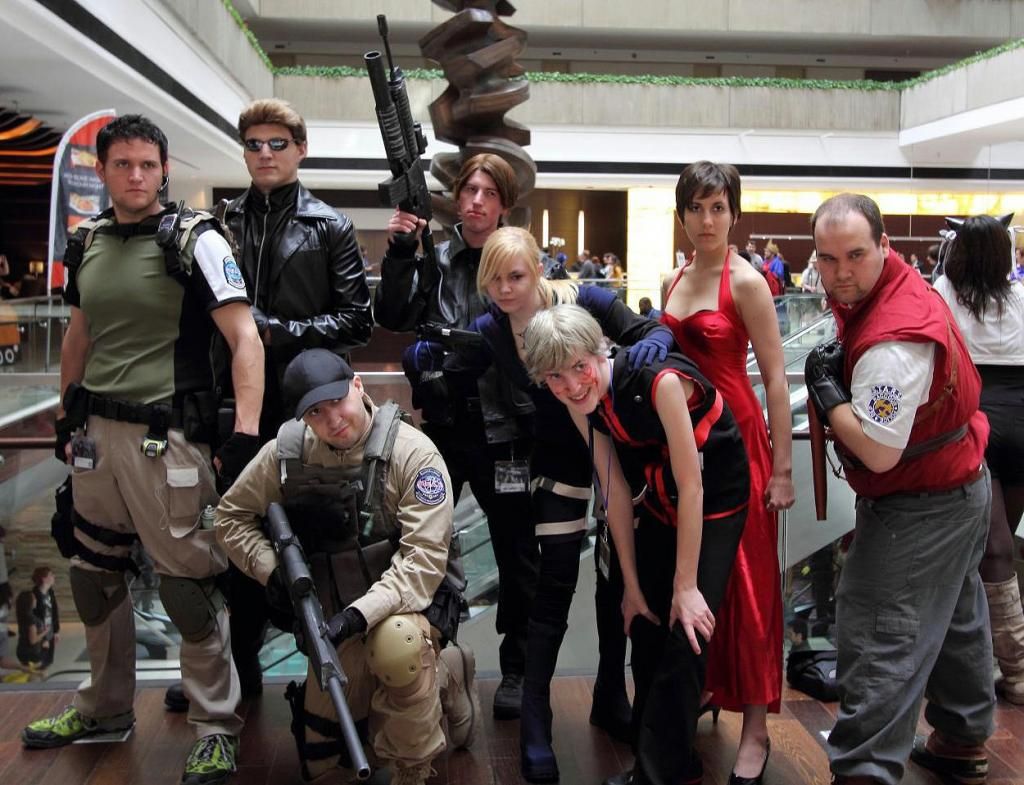
And our entire group together(plus one...whoever that is...):


Sunday, March 27, 2011

AK-47

Quite possibly the most widely-known and widely used firearm in the world, the Avtomat Kalashnikova, or "AK" as it's most commonly referred to, acquired its "47" from the year it was accepted by the Soviet Army for use as their service rifle.  The AK-47 has been around for so long and has had so many different permutations over the years that it's hard to track down the exact real world model Captain Price uses in the Gulag mission, but, like the M16 and M4, it's all the same basic parts.
Here's a real AK-47, which is pretty close to what I'll be building:

Here's the in-game model, which is the one I'm modeling this entry's gun after:


So let's get started!

As usual, I get my model(as I said, the in-game screenshot seen above) into Photoshop and fit it to 1:1 scale, which, in this case was 34".  After that, I transferred the body of the rifle onto cardboard, saving the barrel, top...rod...thing, and stock rod for use with dowels, and leaving the stock for a separate piece altogether.  However, this time around, I opted to start with the stock, as it was easier, so I got that out of the way immediately.

Next, I figured out where all of the dowels needed to sit, built up several layers of cardboard by hot gluing them together, and carving grooves into the body for the dowels to sit.  Once fitted in properly, I hot glued the rods into place.

After that, I basically completed the body by doing the opposite, carving out grooves into the reverse side and gluing the top into place.  Then, the tedious process of carving the curves in(such as on the grip and top of the rifle), sealing all of the edges with hot glue, and smoothing everything out so it looks like one, uniform piece.  Here's the finished product before paint:

Now all that's left to do is hit it with paint.  Here's the base coat:

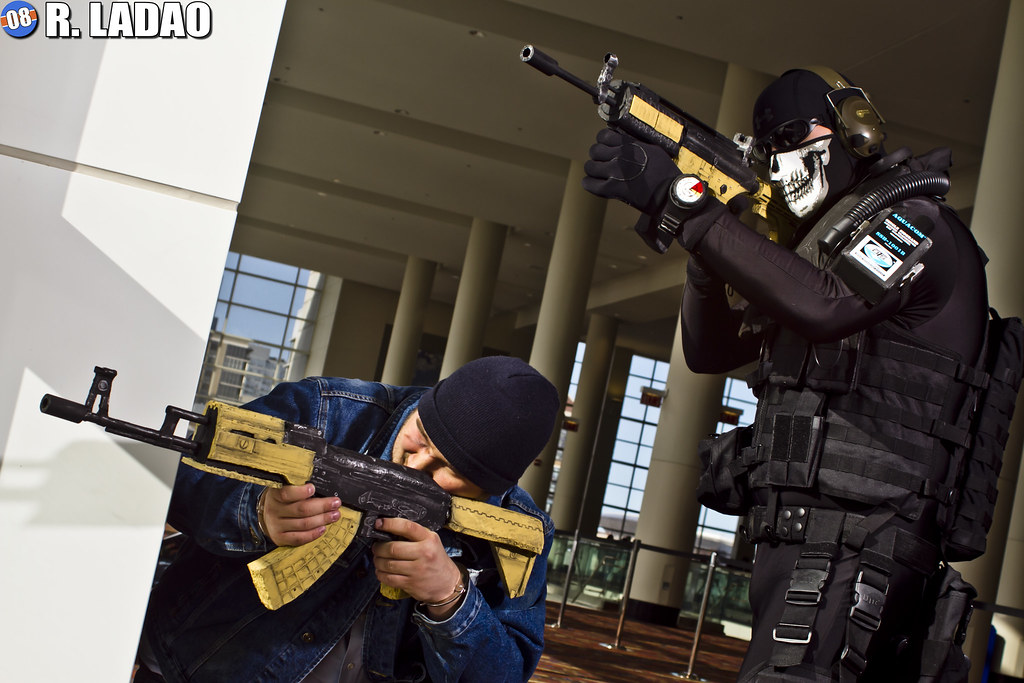
Since this was literally the morning before we left for the convention, I was tired as heck and neglected to take a final picture of the finished piece.  However, here's the gun in use by my friend Dale:
Photo © Ronald Ladao


Saturday, February 5, 2011

M4A1 Carbine

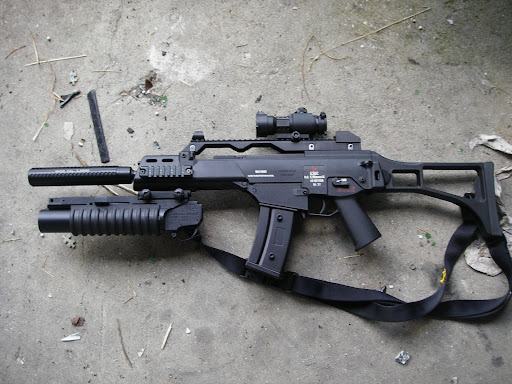
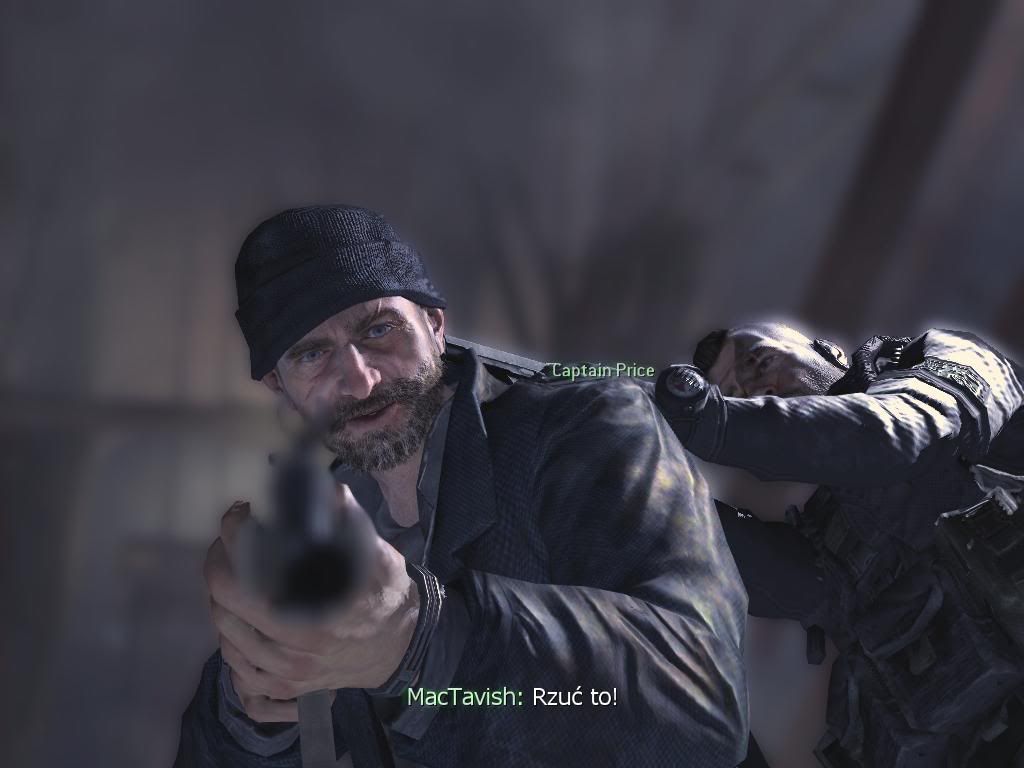
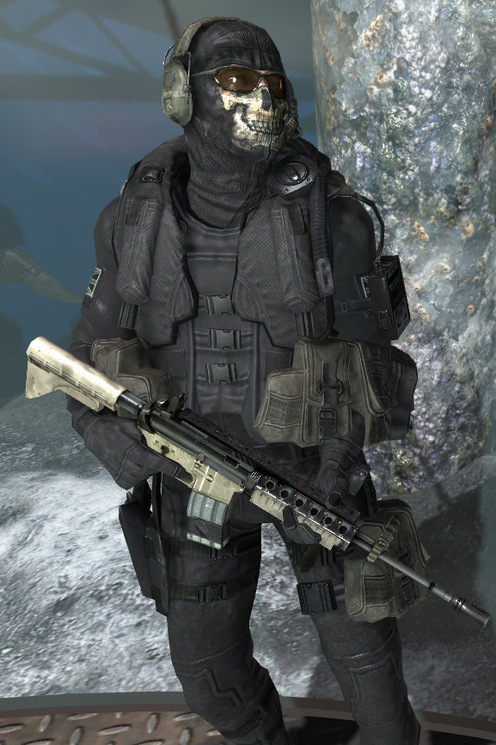
If you've been following along, you know very well that I love Colt firearms, and I have yet another iteration to add to the archive.  This time, it's the M4A1 Carbine.  The term "carbine"(pronounced "kahr-been") refers to a shortened version of a rifle.  In this case, that longer version would be the M4.  I won't get into the difference between an M4 and an M4A1, but, briefly, the M4A1 is able to fire full-auto and the M4 is just a three-round burst.  The M4A1 is also used more in special operations, so it's almost always fitted with a SOPMOD kit, thus eliminating the carrying handle for a Picatinny rail system on the top, and fitted with all sorts of fun toys like reflex sights, scopes, and more.  That aside, the shortened barrel allows for a quicker ready time, making it ideal for close-quarters situations like clearing rooms and taking tight corners.  With all that said, this prop will be constructed for myself and my friend Nick for our Modern Warfare 2 costumes, Lieutenant Simon "Ghost" Riley, and Captain John "Soap" Mactavish.

Now you probably noticed that the variants the two of them carry are fitted with different attachments.  Ghost's M4A1 has a foregrip and nothing else, whereas Soap's has a red dot reflex sight and an M203 grenade launcher.  Be that as it may, it's the same rifle and just separate attachments.  I plan on building the attachments separate from the weapons, and just fitting them in place, just like a real firearm.

Alright, enough chatter.

Here's a "real" M4A1 Carbine: 

Here's the model from within Call of Duty: Modern Warfare 2:


Previously, I had always skipped the first step and went right into a cut-out template, but this time around, I figured I'd show a little more progress.  After procuring the real-world dimensions(http://en.wikipedia.org/wiki/M4_carbine(29.75" with the stock retracted)), I blew up the screenshot I'd taken from the game within Photoshop.  This way I can measure parts of the weapon with a ruler right on my screen and translate that directly onto cardboard for a template instead of just free-handing it and likely getting parts that don't mesh up correctly or winding up with a gun that's too small or too large at the end.  Once it's on cardboard, I take a sharp knife and carve out the template, then use that template to trace additional layers and cut them out.  Here's what I mean:

Take note of the fact that I've broken this weapon down into different sections, assuming you haven't noticed already.  Since the barrel is perfectly cylindrical, a dowel is what I plan on using and running through the length of the whole body for strength(yes, I learned since I built my XM16E1).  There's also a thinner dowel to reinforce the front sight and the rail, and thicker one for the retractable stock.  I've measured them out and have discovered that the barrel is 1/2" thick, the sight/rail dowel is 1/4" thick, and the retractable stock dowel is 1" thick(the muzzle looks to be about the same thickness).


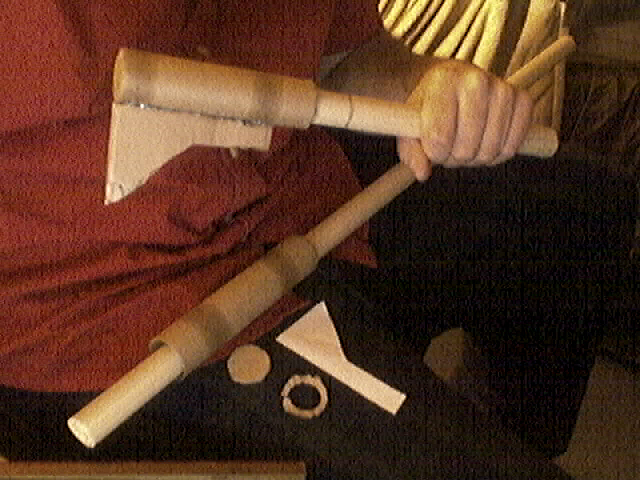
Since I'm making two of these, I can show a complete and assembly stage in the same photo.  The above one is the complete stock.  I took a 1" dowel, measured it long enough so that it would fit into the main body and would therefore be a core to stabilize the whole structure.  For the stock plate itself, I used a paper towel tube, traced the circumference onto cardboard, cut two out, and then(since one is for the front of the plate, and needs to fit onto the dowel to seal the plate) secured that whole tube section together with hot glue, making sure to be very liberal with it at the bottom(to create a tight bond between the dowel and cardboard at the base).  I traced the outline of the other piece onto paper straight off my screen, cut it out, and transferred that to cardboard.  The rest is pretty self explanatory.  Oh, and that line between my hand and the stock plate?  That's how far I'm going to sink the piece into the body of the rifle.

This is where I start getting really excited about the project; when I start to assemble the big pieces together.  Here, you can see what I mean when I said I cut and sink the stock into the body to keep it reinforced.  I took a knife and whittled away approximately a 1/2" diameter hole into the front of the 1" dowel.  I took the 1/2" dowel set aside for the barrel, whittled the end down a bit, and sunk that into the hole I created, sealing it all together with glue.  This will be the weakest part of the prop, so I'm a little worried about it holding together.  I might try to reinforce it with a few more dowels just to be safe, but the Picatinny rail that runs over the top of the whole thing should help to reinforce the structure even further.  Next up, building the forearm.

Yeah, I neglected to take any progress photos for the forearm.  However, all I did was trace out about six or so pieces of that shape and glue them together.  Then it was a matter of taking a knife to it to round it out.  I then bored out some room for the barrel and front sight support rod to fit through.  For the foregrip, I took a 3/4" dowel, figured out how long I needed to make it so it butted up against the barrel dowel inside the forearm, cut it to that length, and then bored a hole into the forearm and glued it into place.  I made sure to put more glue into the hole so that it would filter into the corrugations in the cardboard, creating layers of hot glue, and therefore creating added support.  That way, when holding the grip, there's less of a chance of the foregrip pulling out.

Bam!  Front sight created.  It's just a few layers of cardboard, cut to shape, at this point, but I'll finish that later.  I took a knife to the top of the gun, and shaved it into a rounded shape.  I also shaved down the grip to make it more rounded and less clunky.  The muzzle was created by taking a 1" dowel chunk, boring a 1/2" hole into it, and slipping it onto the barrel.  However, there's more to it than that...

That little peg thing I'm holding is going to be my removable orange tip.  Yeah, I know security's probably not going to like the fact that it's removable, but I hate that obnoxious bright orange blip when I see myself in photos.  I sunk a 1/2" diameter magnet into the muzzle, and glued another 1/2" magnet onto the base of the peg.  This way, I'll be able to pop the tip out for photos, and pop it back in for walking around.  Cool idea?  I think it is...

(after doing this the entire weekend, I can safely say that it was incredibly awesome and plan on doing this for the rest of my weapons in the future)

It's getting close to being structurally complete.  The Picatinny rail is made from one of those paint stirrers(I was rooting around the family toolbox and discovered one and that it was the exact diameter I needed.  I don't think anyone'll miss it...).  The front sight was hollowed out in the right areas, and given the proper curves.  The rear sight was essentially just a big rectangle with a channel cut into it for the washer I put into it(y'know...to line up with the hole in the front sight...).  The foregrip was beefed up with layers of paper tubing wrapped around in a spiral, smoothed out with sandpaper, and glued to keep everything tight.  I hope it looks good when it's painted.  All that's left, structurally, is to add the little doodads like the magazine release, forward assist, fire selector, and such.

Thar she blows!  All ready for painting.  I apologize for the crummy image quality.  It's a little hard to make out the details, but the forward assist, made from a 3/4" dowel that was cut on a bias(serious pain in the butt for not having the proper tools(I'm using a saw on a multi-tool to cut these dowels, and cutting on an angle is awful with it)), at roughly a 30° angle, and topped with the little nub thingy to complete the plunger.  The magazine release is there, as well as the cover for the hinge for the ejection port cover.  The reverse side has the fire selector(the dial that lets you switch the gun from safe, to semi, to auto) and the bolt catch.  Now, to paint it; my favorite part!

First, a base coat of flat black.

Next, hitting the stock, lower receiver, and grip with a couple coats of a mustard-y tan acrylic.  The heat shields are also tan, but I want to detail the forearm before I put those on, so those will be the last additions to the carbine.


BOOM!  All finished.  Looks preeetty sweet.  Here's a picture of the removable tip:


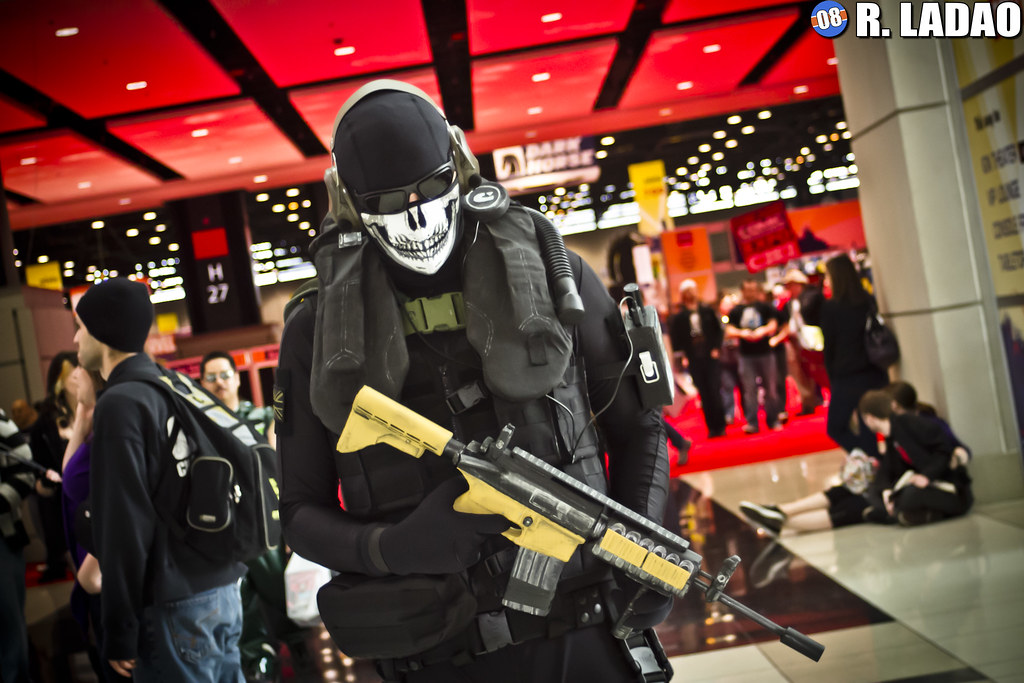
And in use:
Photo © Ronald Ladao


Next up, MacTavish's M4A1 with an M203 and a reflex sight.

As you can see, the M203's built out of a PVC pipe(roughly 1"(it's whatever I had lying around)), some corrugated tubing(I actually "borrowed" a little of this from the drainage tubing in my garage > .>), which I screwed into the PVC, and then built the mounting unit and trigger assembly out of cardboard and hot glue.

Let there be PAINT!  FWOOSH!(Apparently that's the sound of paint now)

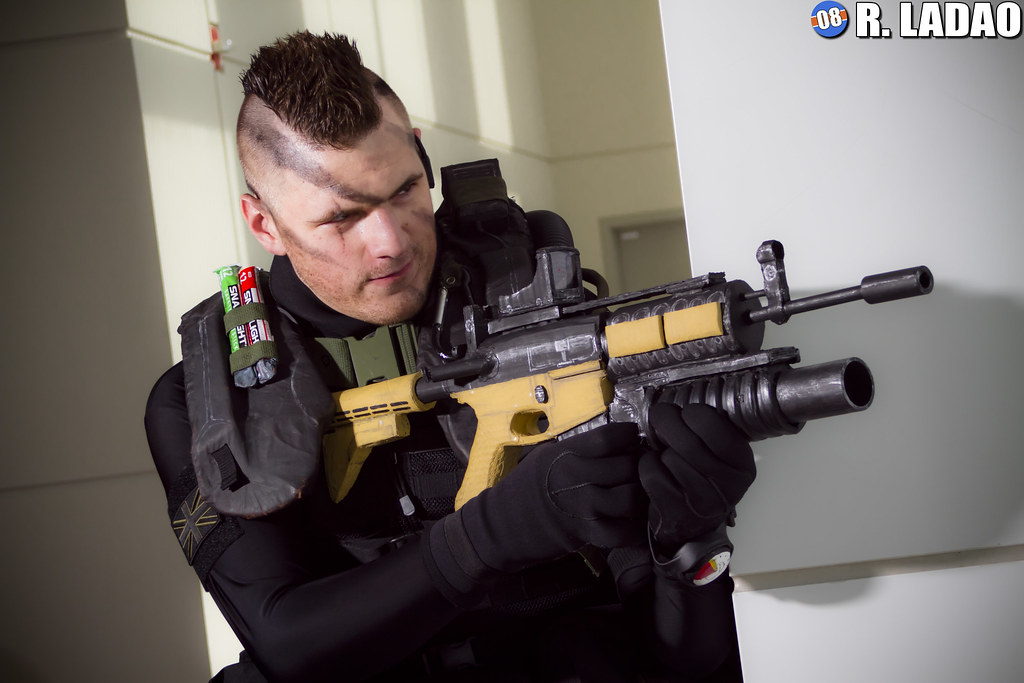
In use:
Photo © Ronald Ladao


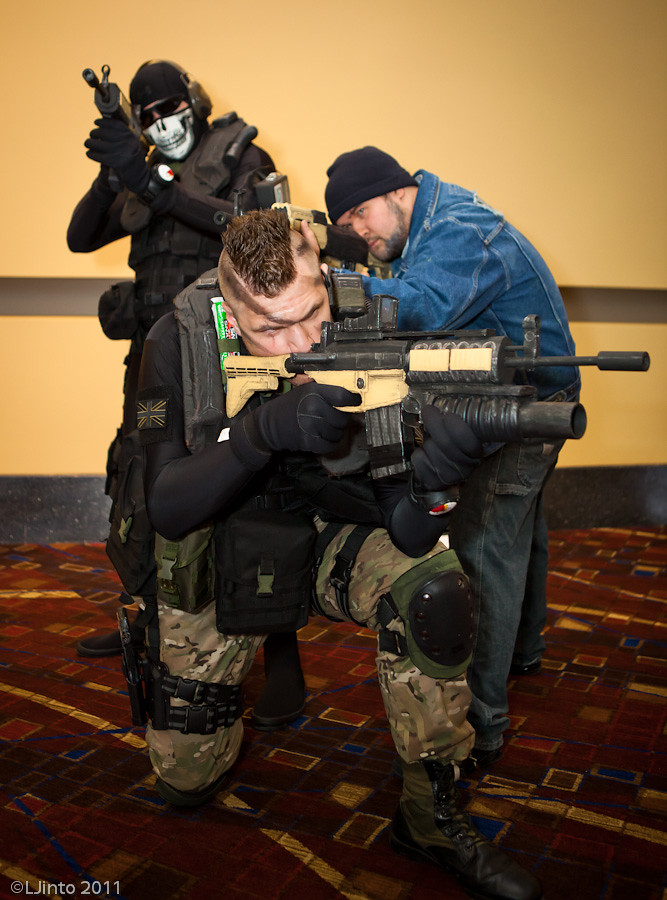
Photo © LJinto

This same build can be applied to pretty much anything in the M4/M16 family, since the body is the same throughout(which is why I always keep a template in my folder.  Here's Dale with Captain Price's 'Black Kit' from the 'F.N.G.' and 'Crew Expendable' missions of Call of Duty(4): Modern Warfare holding an M4A1 I built for him for his birthday in 2012:
Photo © AS Photography
 
Free Flash TemplatesRiad In FezFree joomla templatesAgence Web MarocMusic Videos OnlineFree Website templateswww.seodesign.usFree Wordpress Themeswww.freethemes4all.comFree Blog TemplatesLast NewsFree CMS TemplatesFree CSS TemplatesSoccer Videos OnlineFree Wordpress ThemesFree CSS Templates Dreamweaver