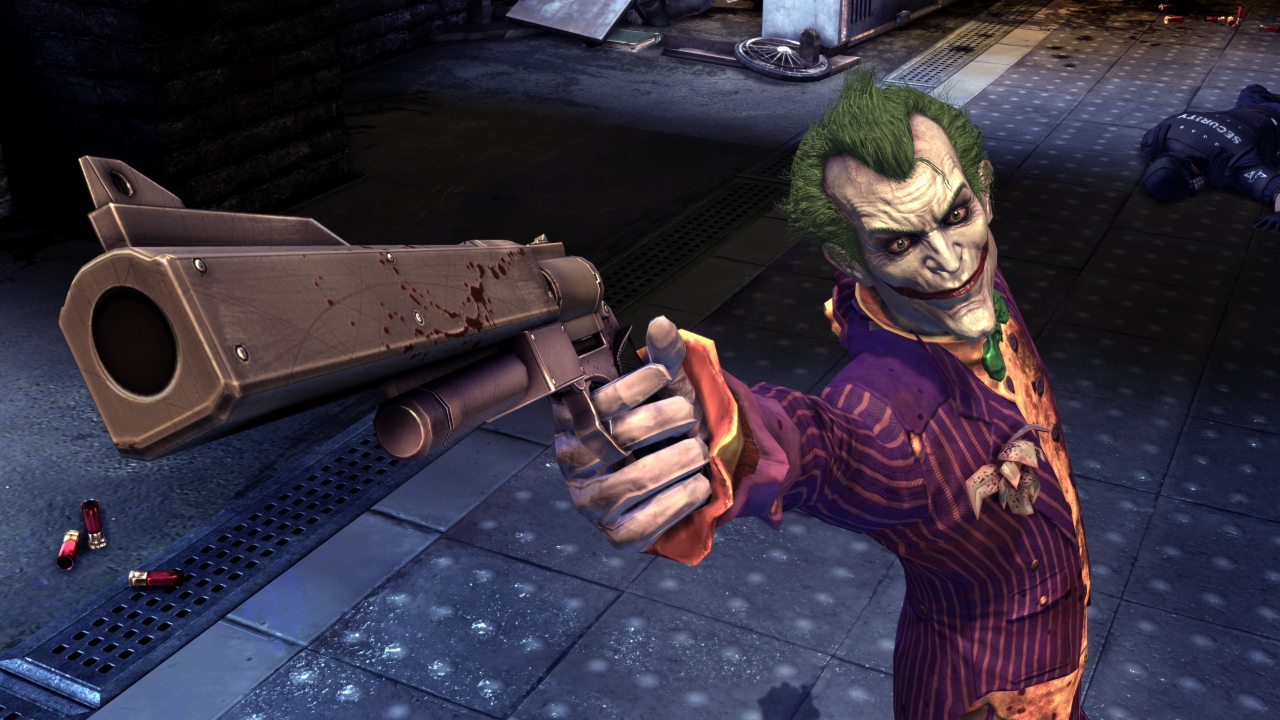
I went through countless Google image pages under different searches, trying to find a profile view of the gun to work from, since the above image has a fair amount of perspective to it, which tricks the eye in regard to the actual scale of the weapon. I wanted it to be as precise as possible, which meant scouring. Eventually I came across a Resident Evil 4 mod with a Joker's Revolver replacement for the .50 cal revolver in-game.
That would work nicely for me. I brought it into Photoshop, and actually opened up the file from the Colt Anaconda build I did in order to match up the trigger guard and grip, allowing me to pit it against a real-world equivalent. From here, I did the same-old method of mine of scaling it to 1:1 and zooming it in so one inch on the screen was one inch on my ruler.
Then I mapped a template onto cardboard and cut them out. Bear in mind the…well, I want to call it the ejector rod, but that's not in the right place… The thing underneath the barrel... Bear in mind that it will be made of a dowel, so it's not included here:
Once more pieces are cut out, I add the sight.
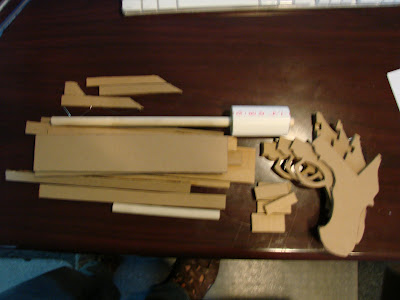
Here's an view of nearly all the parts going into this build before I glue it all together. You can see that I've cut the hole into the body for the chamber to sit.
For the chamber, I got a chunk of...honestly, for the life of me, I can't recall the diameter, but a chunk of PVC, cut it to scale, and filled it with a bunch of cardboard rings with a hole down the center for the 1/2" dowel to fit through. I cut a groove into the body for the nub end of the dowel to rest in in order to keep it all stable.
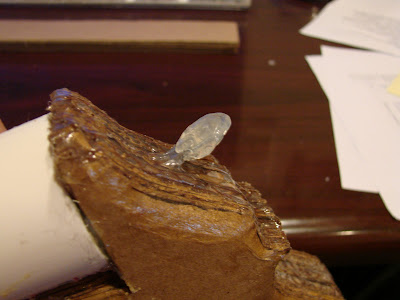
As you can see, it fits nicely. Also, for the hammer, I grabbed a paper clip, hot glued it into place, and bent it into the right shape. It's a little small at this point, but I'll fix that later.
All the major pieces are assembled. The dowel goes through the muzzle, stopping maybe an inch short, at most, so that I can build a removable orange tip for the finished piece. The sight, as you can see, has paper clip reinforcement pieces that will help the sight retain its structural integrity when it's up top. The dowel is in place on the bottom.
Here's the hammer, lookin' quite a bit more beefed up from layers of hot glue. Also, the edges of the revolver frame are all filled in with glue at this point, and shaped with a bevel around the edges to keep it lookin' good.
And here she is with the completed construction. All that's left is to prime 'er in black and paint 'er silver with the proper accents.
And voila! All done! I added a little red enamel paint(honestly, it was because I couldn't track down where I put my red acrylic) to keep the blood splatter a little bit moist looking.
Andrew has said he likes the way it looks. Unfortunately, this is the only photo I could find with him and the prop.
This build only took me about two days of work, and, mind you, I was AT work while I was working on this, so there were a lot of intermittent stops to...y'know...do my actual job. :P Weekends are always slow at the station, though.


