
I decided to start shooting some video, since I had my Flip sitting on the side. Woo! You can listen to my boring droning while staring at my boring face! OH BOY! Just a heads-up, this is going to be a pretty video-dependent build, so I apologize if that's not your thing. This is my first time doing that, so if it works, I may wind up doing the entire build as a video from now on. If not, I'll go back to a blog-style explanation, so bear with me.
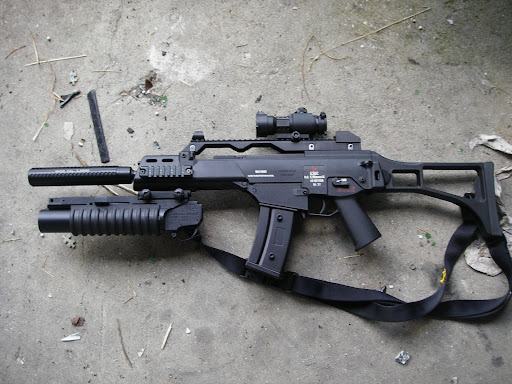
I start off as usual, by grabbing a high-res profile of the weapon I need to build and mapping it out in Photoshop. Here's an explanation:
However, since this thing is such a long prop, it creates a few issues.
And the prospective solution:
Work begins! Here's an application of the technique, which is explained(probably much longer than it needs to be):
After this, I basically repeat that process...over and over and over...and over... until I finally get all of the pieces cut out. Two inches worth of cardboard at an average thickness of 1/8" apiece takes a long time, for the record. Here, you can see that everything is laid out. The PVC is sitting where I'm planning on cutting the channel into the body and stock. The forearm is placed where it's going to overlap that offshoot of the body, and the triangular ribs will help to reinforce the forearm to avoid crumpling, bending, or wiggling.

Next up, cutting out the PVC groove and gluing the chunks together:
Once the whole body is glued together, grinding begins.
Here's the result:

The grinding and filing are all finished now.
After covering the top of the body with some heavy paper, affixing the cheek plate to the stock, carving slots in for the scope mount, and building the mounting for the scope itself(sorry, I never covered that in videos or photos. It's pretty basic, though), and the painstaking process of coating all of the edges and gaps with hot glue, not to mention smoothing that glue out to keep the body contiguous, I dub the construction finished. I apologize for the audio. It was late, and I didn't want to talk too loudly, lest I wake up my parents.
Here's a photo of the finished construction:

Next up… PAINT!
*triumphant music* Toooootally done. It's been a trial building this beast, but it's a pretty epic looking prop. I'm sure Chris will be pleased.
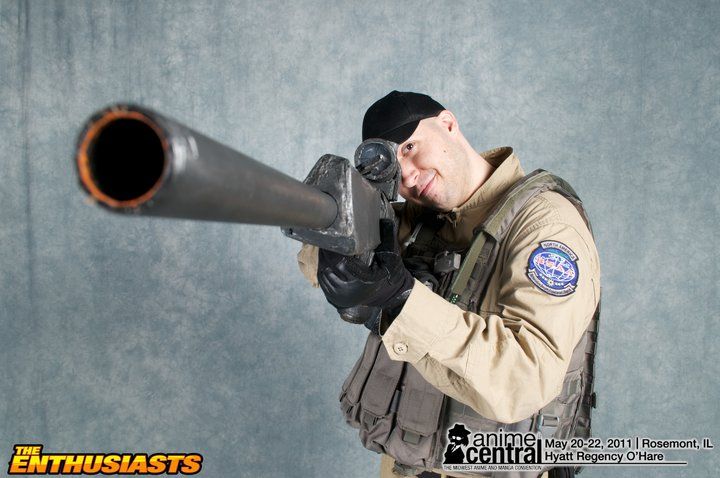
And a photo of the end result:

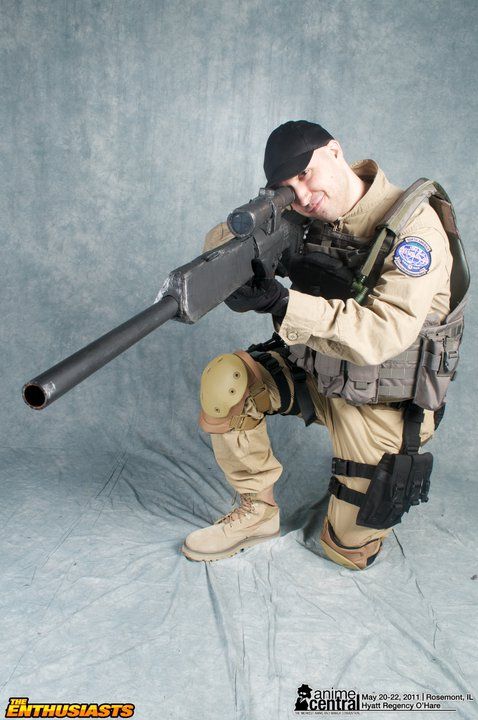
Here're two shots of Chris in his Dave Johnson gear:
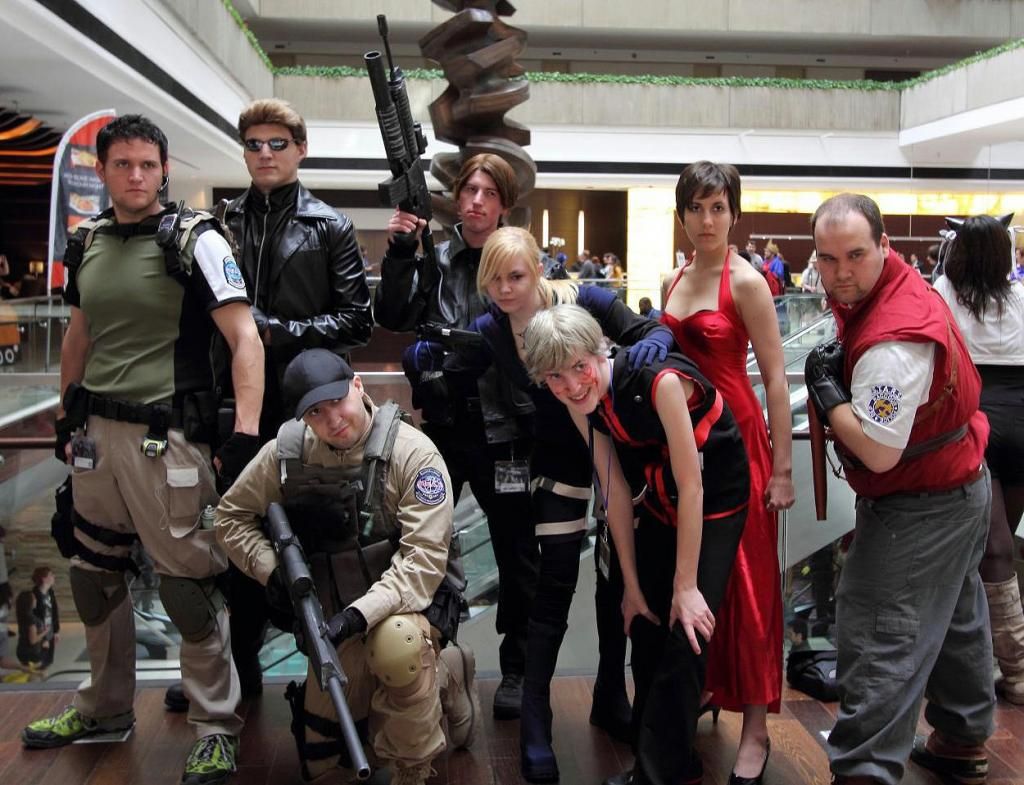
And our entire group together(plus one...whoever that is...):
